
Next up on my Back to Basics series is all about blush and highlighter. Like many of the other products I talk about in this series, there are a few different products and ways you can use them for both blush and highlighter.
Starting off with blush, it can come in a powder (pressed or loose,) cream, or even liquid forms. The powder form is the most common in the market, and its the easiest to use. Blush colors can range from super light pinks all the way to the darkest burnt orange shade. This is one of the products that you can most have fun with as far as color goes.


Powder blush is everywhere, you can get great ones at the drugstore for under $5. You can also spend well over $40 on a high end blush. Ultimately they do the same job and give you the same effect, bringing more color to the face.
Powder blush can be used with any makeup application. You can use it with nothing else on your face. You can also use it with just foundation, or with a full face of makeup. Powder blush is the most versatile product for the face.
Cream blush can come in a pan form or in a stick form. A liquid blush will usually come in a tube or bottle. Both the cream and liquid forms can be used on their own, even when you aren't wearing any makeup at all for that slight wash of color over the cheeks. It can also be used after foundation/concealer as well.


Where to apply the blush all depends on your face shape. To make it a little easier here is a diagram of where the blush should go for a few different face shapes. You can see that for some the blush is higher than others, and in some the blush is closer together than others. These applications usually tend to be the most flattering for their respective face shape.


Highlighting products can also come in a powder, cream or liquid forms. These products shouldn't be confused with what I talk about in the Concealer Post. When you highlight your skin with a concealer, you are just trying to bring dimension back to your face, and you want to do that with a concealer that doesn't have shimmer.
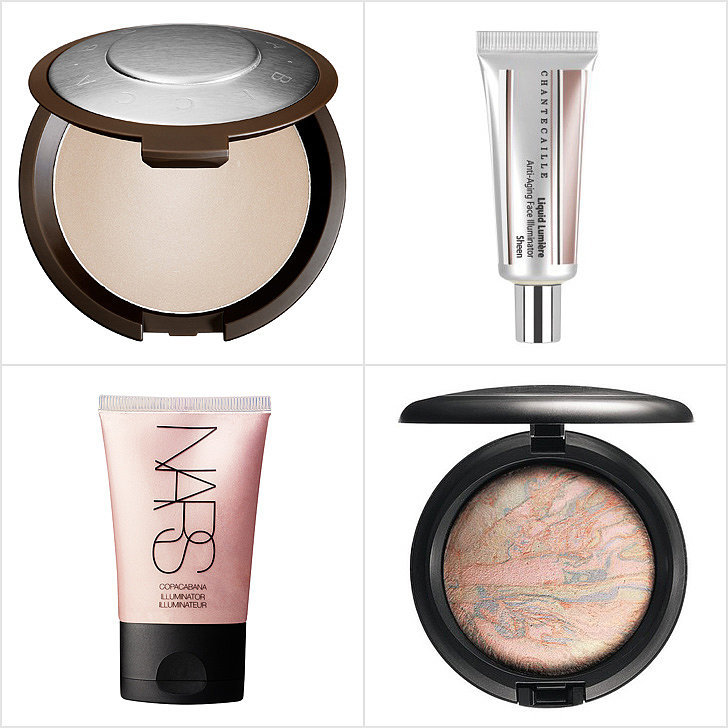

A cream highlighting product can be used right after foundation for the best results, if you don't set the makeup the highlight might be very pigmented. If you would set the face with a setting powder, it might make the highlight less intense.


When applying a luminous or shimmery highlighter you want to be very careful because it can go from cute highlight to disco ball in a second. This is a little simpler than the blush or contour charts. You want to put the highlighting product on the places you want to bring out more. Remember you already highlighted with the concealer. You don't want to put the shimmery highlight in the same places as the concealer, because that would be disco ball level.
You want to put the highlighter on the parts where you want attention to go.
I always put a shimmery color in the inside corner of my eyes (the tear duct area.) This really makes your eyes look open and makes you look super fresh. I also highlight the very tops of my cheekbones, right above the blush and contour. You want these three products to blend seamlessly into one another. You don't want the Neapolitan ice cream look with three strips on your cheeks.
I also put a tiny bit of highlighter under the highest point of my eyebrow, on the tip of the nose, and on the cupid's bow. Just a tiny touch of highlighter in these areas will make the whole makeup come together and look complete.
Check out my previous posts in the Back to Basics Series here:
Primer | Makeup Part 1 | Back To Basics
Foundation | Makeup Part 2 | Back to Basics
Concealer | Makeup Part 3 | Back to Basics

All images are from google.com
