
Bronzer is up next in this Back to Basics series. I absolutely love bronzer. This step is when you are going to start adding color back into the face. What we do with concealer and foundation is create a blank canvas, so adding bronzer is going to give your face dimension and the shape that you want.
Bronzer can come in a cream form or a powder form. Since I went over cream contour in the Concealer Back to Basics, I won't be getting into it in this post. I will be talking about powder bronzer products and how to use them.
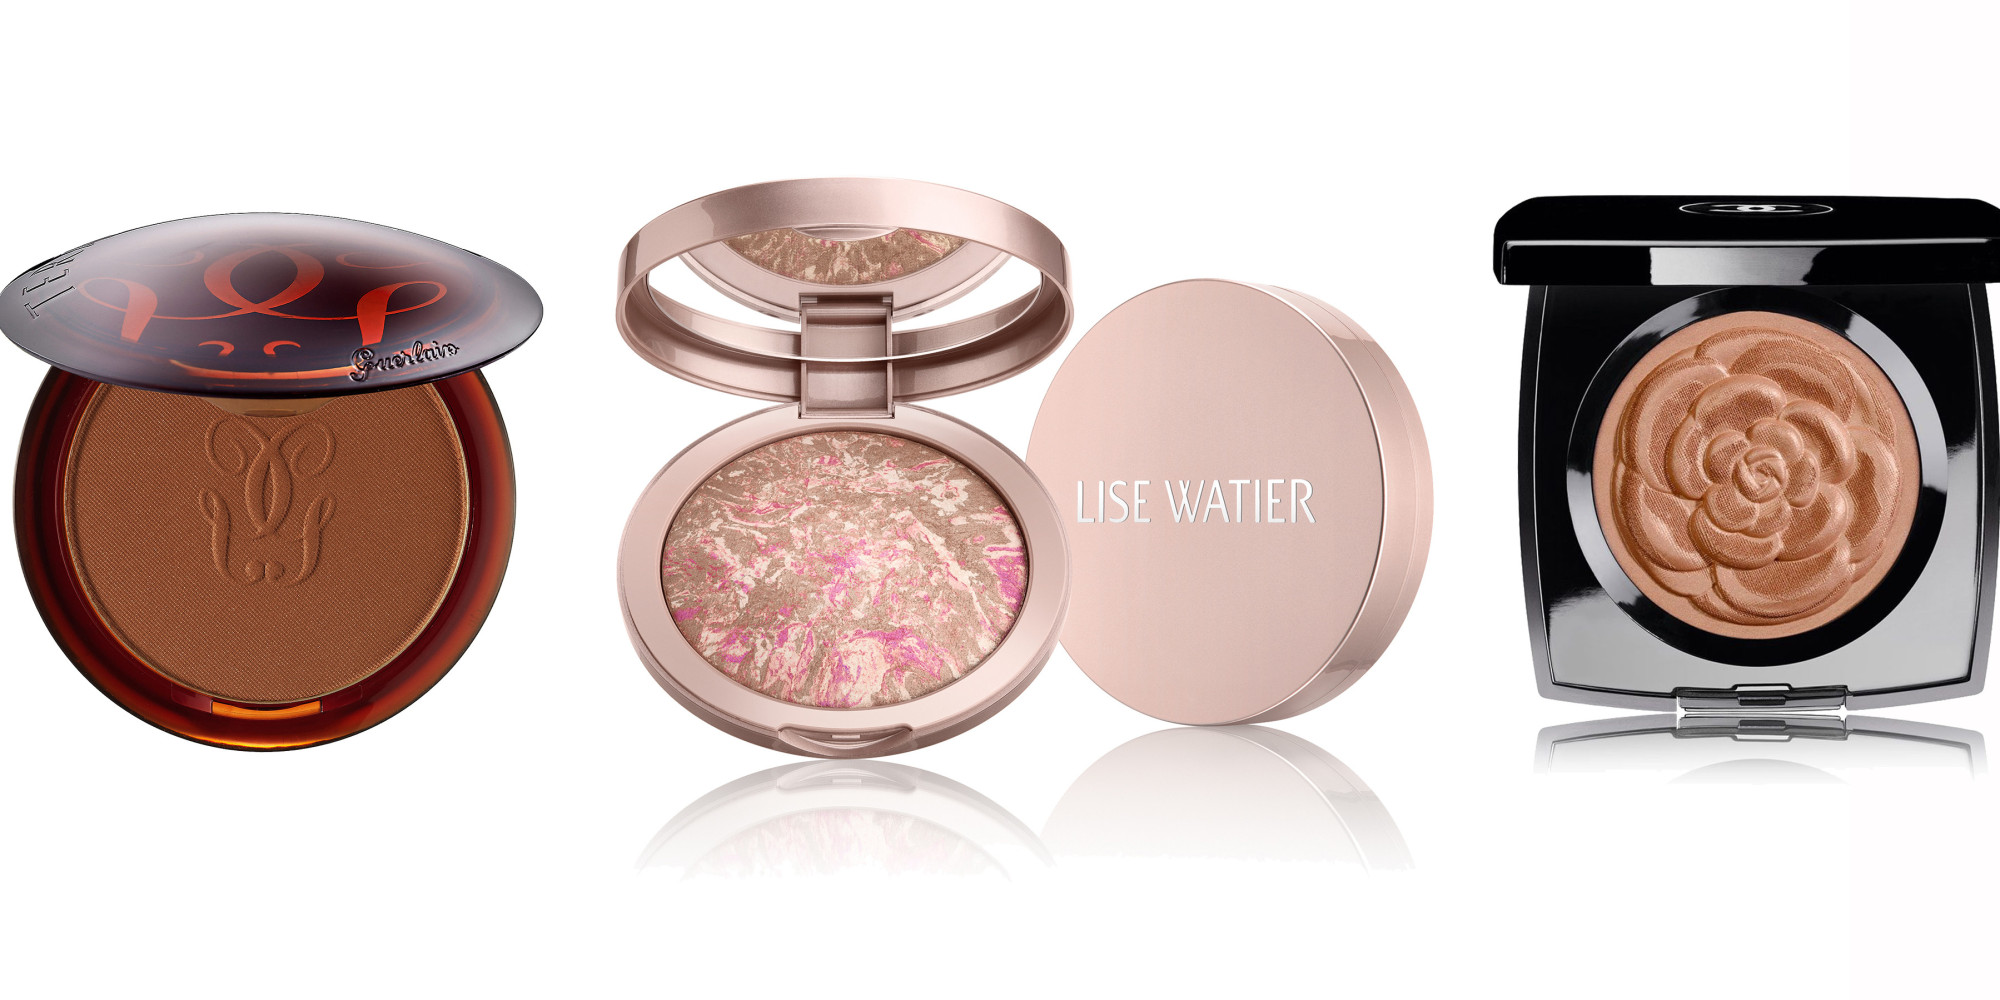
Bronzer Finish
Powder bronzer is a face powder that comes in a darker shade. When using this product to bronze up the skin, you want to use a shimmery shade (not glittery) and you're going to apply this color with a large powder brush on the places where the sun would naturally hit the skin. Apply the bronzer to the tip of the nose, to the top of the cheeks, and to the center of the forehead. This will give you the sun-kissed bronze goddess look that is great in the summer time.
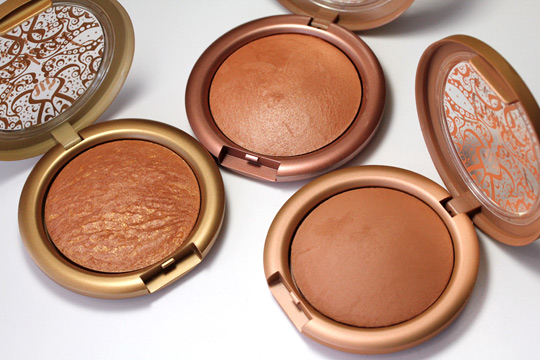

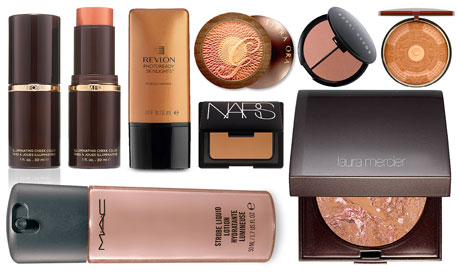
Bronzing Colors for Contouring
There are some bronzers that have a warm tone, this is a red or orange undertone to the brown. If you have a lighter skin tone you want to stay away from these colors as they tend to look muddy and might make your face look dirty.
A warm bronzer would look amazing on a darker skin tone. I would say medium to dark skin tones would benefit from a warm bronzer since the underlying pigment in darker skin is usually red/orange. This will complement you best and make the contour look very natural.

Bronzers that are cool toned are great for people with lighter skin. These bronzers can have more of a gray cast to them. This tone will complement light skin because it will make the contour look like it's an actual shadow on the skin. Be careful not to choose a color that is too dark for your skin, because this can make you look ashy or give you that slight "I'm a member of the undead" look.

Then there is the neutral tone, this is the perfect mix between warm and cool. This kind of bronzing powder can be used by people with any skin tone and it will look great. This tone works great just to bronze up the face as well as for contouring.

We also have to talk about the intensity of the pigment. The colors can range from very light to very dark. Keeping in mind your skin tone, going 2-3 shades darker that your natural skin tone is the best bet, unless you want a super dramatic drag-like contour. Then by all means go for the darker tones.


One of the most important things to remember when it comes to bronzing or contouring is to blend blend blend. This will insure that your face looks natural. Blending out the colors that you put on your face will make the makeup as a whole look airbrushed and amazing.
Where to Contour
Just like in the Concealer post, when using a powder bronzer to contour you want to keep in mind your face shape. Ideally you want to create the illusion of an oval face shape, so if you have a face shape that is not oval, that is your goal when contouring.
If you have a round face, you want to add darkness to the sides of your face. You are going to apply the bronzer to your checks in sort of a half moon shape from the temples to the jaw line. Doing this will create the illusion that the face is slim.


If you have a heart shaped face, you are going to apply the bronzer to the sides of the forehead and to the top sides of the cheeks. You want to make the top of the face as proportionate as possible to the bottom half of the face.

Here are the rest of the face shapes in a quick little chart for reference. The chart also has where to highlight which is shown with the circles. The highlights you can add with a highlighting powder which gives a glowy finish or just a lighter toned face powder for a more matte finish.

Bronzing/contouring is definitely something that you have to practice to perfect. The application for this will be different for every face shape. When applying bronzer always remember to blend everything out. I usually apply the contour shade with a large powder brush and once I have the intensity that I want I will go in with a clean duo-fiber brush and go over the entire thing until it is blended.
There are so many contour palettes out now that you don't have to look too hard. Some of the higher end brands are the Anastasia Beverly Hills Contour Kit, the Kat VonD Shade & Light Palette, or the Lorac Pro Contour Palette. These contour kits also include some highlighting shades.
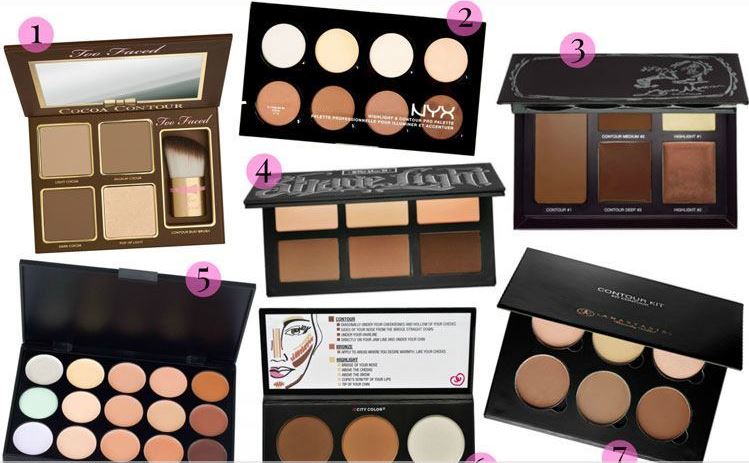
But if you want to use something from the drugstore, I would say the best thing to use is just a face powder in a darker shade. Especially for contouring you want to use a matte powder. Physicians Formula has really great shimmery bronzers that are very affordable.

Check out my previous posts in the Back to Basics Series here:
Primer | Makeup Part 1 | Back To Basics
Foundation | Makeup Part 2 | Back to Basics
Concealer | Makeup Part 3 | Back to Basics

All images are from google.com
I’m genuinely impressed with your knowledge. You have shared good knowledge by this blog. It was a really attractive blog. Please keep sharing your post with us.nail school chicago
ReplyDeleteHello mate nice post
ReplyDelete