Showing posts with label back to basics. Show all posts

Friday, March 11, 2016

Eyeliner | Makeup Part 8 | Back to Basics

Eyeliner is probably the skill that takes the longest to master when it comes to makeup. I always hear people saying that they can't get it right or that it's really hard. Well, it is. It probably took me 2 years to get my winged liner down to a science and even after 6 years of playing with makeup I still mess it up sometimes. The key to eyeliner is practicing. And don't worry too much, like I always say, it's just makeup. If you mess up, just take it off and try it again.
I am going to be going through all the eyeliner products that are available on the market right now, and how and when to use each product.

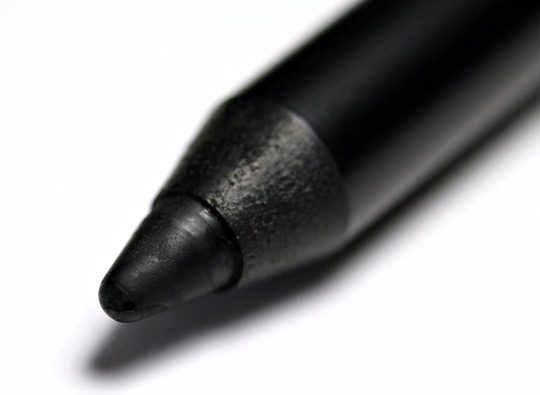
The classic kohl eyeliner pencil is first on the list. This products has been around for a million years, at least. It is the main product people think of when talking about eyeliner. Basically all makeup brands carry a regular pencil liner. You can get them at the drugstore, beauty supply stores or at higher end places like Ulta or Sephora.
 
One of the best ways to use a pencil eyeliner is on the waterline of the eye and as a smudge color. These kind of pencils can range from super dry and hard to use, to very creamy and blendable. Depending on which one you happen to have, you can use it for those different things. If a pencil is too dry than it can pull on the eyes which could hurt and could cause premature wrinkles. If your pencil is too hard to work with, blast it with your blow dryer. This should melt it enough that it won't tug at your skin. But don't make it too hot, that wouldn't feel too good.
If you have a pencil that is way too creamy, try using a liner brush to apply the liner with. Dab your brush into the tip of the pencil and then simply apply. This is great for beginners since the brush gives you all the control.
If you are using a super creamy pencil you should also set it with an eyeshadow, this will prevent it from moving, creasing or smudging where you don't want it. When you are setting it use a small liner brush and tap the eyeshadow onto the liner.
The great thing about pencil liners is the crazy amount of colors that are available now. I love the range that you get with pencil liners. Like all things there are high-end and drugstore alternatives, but it really doesn't matter. I always make things work for me. Some of my favorite pencil liners are the ones from NYX and also Urban Decay has amazing liners.
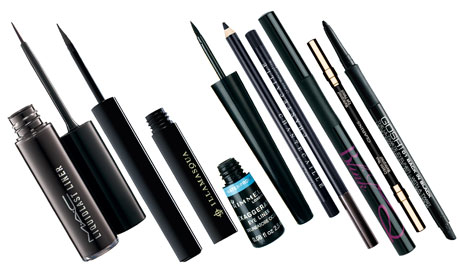
Liquid Liner is also one of those products that have been around basically forever. Mastering the liquid liner technique can be a little difficult and may take time. This also has to do with finding the correct formula that will work for you. Some liquid liners can be a little too heavy which makes getting a clean sharp line hard. Then there are some liquid liners that are so runny that you go to apply it and it just gets everywhere. There has to be a trial and error period with liquid liners. One of the better ones that I have tried is the Kat VonD Tattoo Liner. This liner is super black and very easy to use. The only problem that I have with it is that it is not waterproof.
Finding a liquid liner that is waterproof is the key. If you have a liner that is not waterproof any moisture that comes from your eyes will ruin the liner. I find this especially true for contact lens wearers.
There are liquid liners that come in a pot and the brush is the handle of the packaging, and there are also the liquid liner pens. The only difference is that with the first one you have to dip the brush part back into the pot to get more product as opposed to the pen where the product is part of the applicator.
Both of these products are relatively easy to use and there are great drugstore and high end brands that you can choose from.

Gel Liner is one of the easiest products to use. If you are having trouble getting the winged liner down, try using gel. Gel liner is the happy medium between pencil liner and liquid liner. Gel liner has a thick cream consistency. Where a pencil liner can be hard and dry, a gel liner is very smooth when applying it to the eyes. A gel liner won't tug on the skin (unless it has dried out.) The difference between a gel and liquid is again the consistency. The liquid liner is liquid so it can run and sometimes get where you don't want it. A gel liner will stay right where you put it and it has a slower drying time so you have plenty of time to get it perfect before it completely sets.
You have to use a brush with gel liner, this is great because you have all the control over the product. There are so many great gel liners on the market, you really can't go wrong. I would have to say that the Maybelline Gel Liner is my favorite gel liner. I have also tried the NYX gel liner which is also good. I do like the Maybelline liner better than the NYX liner because the Maybelline one does not dry out. I had a pot of the Maybelline liner and even after a year it was still creamy and worked great. The NYX one ended up drying completely out in a few months.
The other thing you want to keep in mind when it comes to eyeliner is the formula, regular or waterproof. In my opinion I think that waterproof liner is the way to go. Since eyeliner is placed so close to the actual eye ball, it can be a watery situation. If you plan on wearing the makeup all day, or to a place that is hot and that you are going to sweat, or to a place where you will be crying, waterproof liner can really save the face.
The thing with regular eyeliner is that if there is any moisture added to it, it doesn't just disappear, it runs. So making sure you get a waterproof liner is going to keep all that mess off your face.
I suggest using a regular liner when you know for sure you wont be crying or be getting caught in a rainstorm. Non waterproof liner is great if you are only wearing makeup for a short time. Definitely not for super long days.

Eyeliner is a place where you can really be creative, there's the winged liner and its many variations, to the classic line and so on. You can really make your eyes stand out with even just a bit of black or white liner in the water line. It's all in how you use it.


 || Youtube Channels ||

Beauty Channel: https://www.youtube.com/thesoriameffect4
Spanish Beauty Channel: https://www.youtube.com/channel/UCVp5erjTu3sPPV7pGKjOP8w
Vlog Channel: http://YouTube.com/SoriamTV


|| FOLLOW ME ON SOCIAL MEDIA ||

Instagram: https://instagram.com/the_soriam_effect/
Facebook: http://facebook.com/thesoriameffect
Twitter: https://twitter.com/SorrriamArrrce
Pinterest: http://www.pinterest.com/soriamarce/
Tumblr: http://sosoriam.tumblr.com

Wednesday, March 2, 2016

Eyebrows | Makeup Part 7 | Back to Basics


Eyebrows are one of those things that need to be done if you are wearing any makeup at all. I think the eyebrows really define the face and frame your eyes. This can be a good thing if the brows are groomed and filled in, or it can be a bad thing if you have less pronounced eyebrows and you don't fill them in. This can sometimes make the makeup look incomplete.

This is one of those things that all depends on you as an individual. There isn't a one size fits all for brows. You have to take into consideration your face shape, hair color, and natural shape of the brows. It is all subjective. I'll be getting in to all the different products and application techniques for filling in your brows.

Starting off with the products that are out there. There is the classic brow powder/eyeshadow. There are brow powders specifically made for your eyebrows or you can just use any eyeshadow powder.
Sometimes these brow kits also include a wax that is supposed to work in conjunction with the powder. You would apply the wax first and then you apply the powder using a small eyeliner/eyebrow brush  and it has something to stick to, this also is supposed to make it long wearing.
There are a ton of brands that make these little eyebrow kits from high end to drugstore and everything in between.
 

Next up is the eyebrow pencil. This has been around forever, it is the easiest way to get the brows filled in. You have the classic pencil that you have to sharpen, and there are also the retractable pencils. These are great when traveling or to have with you in a makeup bag. A lot of these pencils also have a spooly on the opposite end which makes it a breeze to fill in the brows and then comb them out and blend the pencil in.
One of my favorite eyebrow pencil is the Brow Wiz from Anastasia. They also recently launched a different kind of pencil called the Brow Definer. The Anastasia products are really amazing because it actually sets, and it is waterproof. Once your brows are on they are not going anywhere.
  

Another interesting brow product is the eyebrow marker. I have never tried this product personally. It works the same way a liquid eyeliner works. It is a liquid product with a felt tip applicator. The best way to use these eyebrow marker is to do small strokes. I don't recommend trying to do one fluid line from beginning to end since the hair will get in the way. Doing small strokes will also make the application look very natural and give the illusion that there is more hair. These markers are great if you need to get ready quickly since they are very simple to use.

One product that is all over YouTube is the brow pomade or gels. These typically come in a little pot form and they are exactly like gel eyeliners. I have the Anastasia brow pomade and it really is amazing. All you need is a tiny amount, and you can fill the whole brow in with that. I like using a super tiny angled liner brush and it makes it super simple to get the brows done.
There is also a version of this that is a bit different and it is the brow gel that comes in a tube. Again with this you will need a small angled liner brush to apply this. It works exactly the same way as with the pomade.
The thing with these sort of products is that they are much harsher, if you use too much the brows can look really dark and painted on. The point of filling in the brows is to make them fuller and have more shape, not having painted on brows. Try to use a very light hand when it comes to the pomade products.
 

The last brow product that is out there is the eyebrow gel to set the brows. These come in all colors and some of these products even have fiber to give the illusion of more hair.
The clear brow gel is the easiest to use since it doesn't have color you don't have to be too careful when it comes to applying it.
There is also brow gels that come in a range of colors from the lightest blonde to the darkest brown. These are perfect for people that already have full brows and you might want to darken them up a bit, or tame them down.
I love using tinted brow gel for days when I don't wear makeup or have very little makeup on. It gives the brows a really nice polished look that is very flattering.
I also use the tinted brow gel to give dimension to the brows when I do fill them in. Sometimes the brows can look a little one dimensional and flat. Using a lighter brow gel over darker eyebrows can really make them stand out.


When applying any product to the brows, I always start off by brushing them through with a spooly. This makes sure that the hair is all going in the same direction and it is the shape you want.
I always like to use a small angled liner brush, the one I love and have been using for years is the Anastasia eyebrow brush #7. This has the brush on one side and a spooly on the other.

I recently made a video showing step by step how I like to fill in my brows. I have been using eyeshadow as brow powder for a long time. It really defines the brows, but keeps it soft with the eyeshadow.
I have an older video where I show how I fill my brows in using a pencil. You can check out either one below.

How I fill in my brows with eyeshadow.


How I fill in my brows with a pencil.


|| Other YT Channels ||

Spanish Beauty Channel: https://www.youtube.com/channel/UCVp5erjTu3sPPV7pGKjOP8w
Vlog Channel: http://YouTube.com/SoriamTV


|| FOLLOW ME ON SOCIAL MEDIA ||

Instagram: https://instagram.com/the_soriam_effect/
Facebook: http://facebook.com/thesoriameffect
Twitter: https://twitter.com/SorrriamArrrce
Pinterest: http://www.pinterest.com/soriamarce/
Tumblr: http://sosoriam.tumblr.com

Monday, December 28, 2015

Bronzer & Contouring | Makeup Part 5 | Back to Basics


Bronzer is up next in this Back to Basics series. I absolutely love bronzer. This step is when you are going to start adding color back into the face. What we do with concealer and foundation is create a blank canvas, so adding bronzer is going to give your face dimension and the shape that you want.

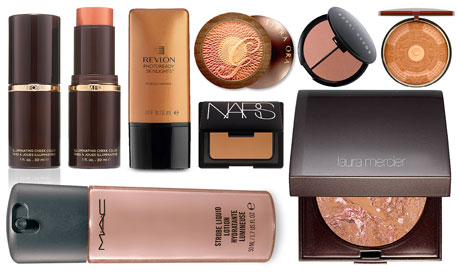
Bronzer can come in a cream form or a powder form. Since I went over cream contour in the Concealer Back to Basics, I won't be getting into it in this post. I will be talking about powder bronzer products and how to use them.

Bronzer Finish
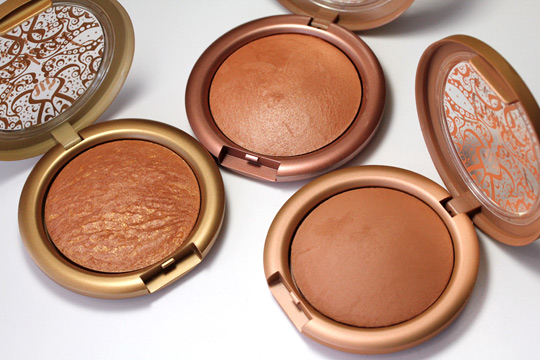
Powder bronzer is a face powder that comes in a darker shade. When using this product to bronze up the skin, you want to use a shimmery shade (not glittery) and you're going to apply this color with a large powder brush on the places where the sun would naturally hit the skin. Apply the bronzer to the tip of the nose, to the top of the cheeks, and to the center of the forehead. This will give you the sun-kissed bronze goddess look that is great in the summer time.
Another way to use a shimmery bronzer is to bronze the skin like you would if you were contouring. Using a large powder brush apply the bronzer under the cheekbones, around the hairline on the forehead and on the sides of the nose. This technique is still giving you the bronze goddess feel, but since it is on the perimeter of the face it won't be too intense and bronze goddessy.
When using a bronzer to contour your face you want to choose a matte bronzing powder. When contouring you want to think about what color you are choosing, try to stay between 2-3 shades darker than your natural skin tone (or foundation tone you are using.)

Bronzing Colors for Contouring
There are some bronzers that have a warm tone, this is a red or orange undertone to the brown. If you have a lighter skin tone you want to stay away from these colors as they tend to look muddy and might make your face look dirty.
A warm bronzer would look amazing on a darker skin tone. I would say medium to dark skin tones would benefit from a warm bronzer since the underlying pigment in darker skin is usually red/orange. This will complement you best and make the contour look very natural.

Bronzers that are cool toned are great for people with lighter skin. These bronzers can have more of a gray cast to them. This tone will complement light skin because it will make the contour look like it's an actual shadow on the skin. Be careful not to choose a color that is too dark for your skin, because this can make you look ashy or give you that slight "I'm a member of the undead" look.

Then there is the neutral tone, this is the perfect mix between warm and cool. This kind of bronzing powder can be used by people with any skin tone and it will look great. This tone works great just to bronze up the face as well as for contouring.

We also have to talk about the intensity of the pigment. The colors can range from very light to very dark. Keeping in mind your skin tone, going 2-3 shades darker that your natural skin tone is the best bet, unless you want a super dramatic drag-like contour. Then by all  means go for the darker tones.

One of the most important things to remember when it comes to bronzing or contouring is to blend blend blend. This will insure that your face looks natural. Blending out the colors that you put on your face will make the makeup as a whole look airbrushed and amazing.

Where to Contour
Just like in the Concealer post, when using a powder bronzer to contour you want to keep in mind your face shape. Ideally you want to create the illusion of an oval face shape, so if you have a face shape that is not oval, that is your goal when contouring.

If you have a round face, you want to add darkness to the sides of your face. You are going to apply the bronzer to your checks in sort of a half moon shape from the temples to the jaw line. Doing this will create the illusion that the face is slim.

If you have a square face, you want to put the bronzer on the hairline right above the eyebrows, and also on the jawline right by the ears. This will taper off the corners of the face, which will help in creating the illusion of an oval face.


If you have a heart shaped face, you are going to apply the bronzer to the sides of the forehead and to the top sides of the cheeks. You want to make the top of the face as proportionate as possible to the bottom half of the face.

Here are the rest of the face shapes in a quick little chart for reference. The chart also has where to highlight which is shown with the circles. The highlights you can add with a highlighting powder which gives a glowy finish or just a lighter toned face powder for a more matte finish.


Bronzing/contouring is definitely something that you have to practice to perfect. The application for this will be different for every face shape. When applying bronzer always remember to blend everything out. I usually apply the contour shade with a large powder brush and once I have the intensity that I want I will go in with a clean duo-fiber brush and go over the entire thing until it is blended.
Bronzing Products
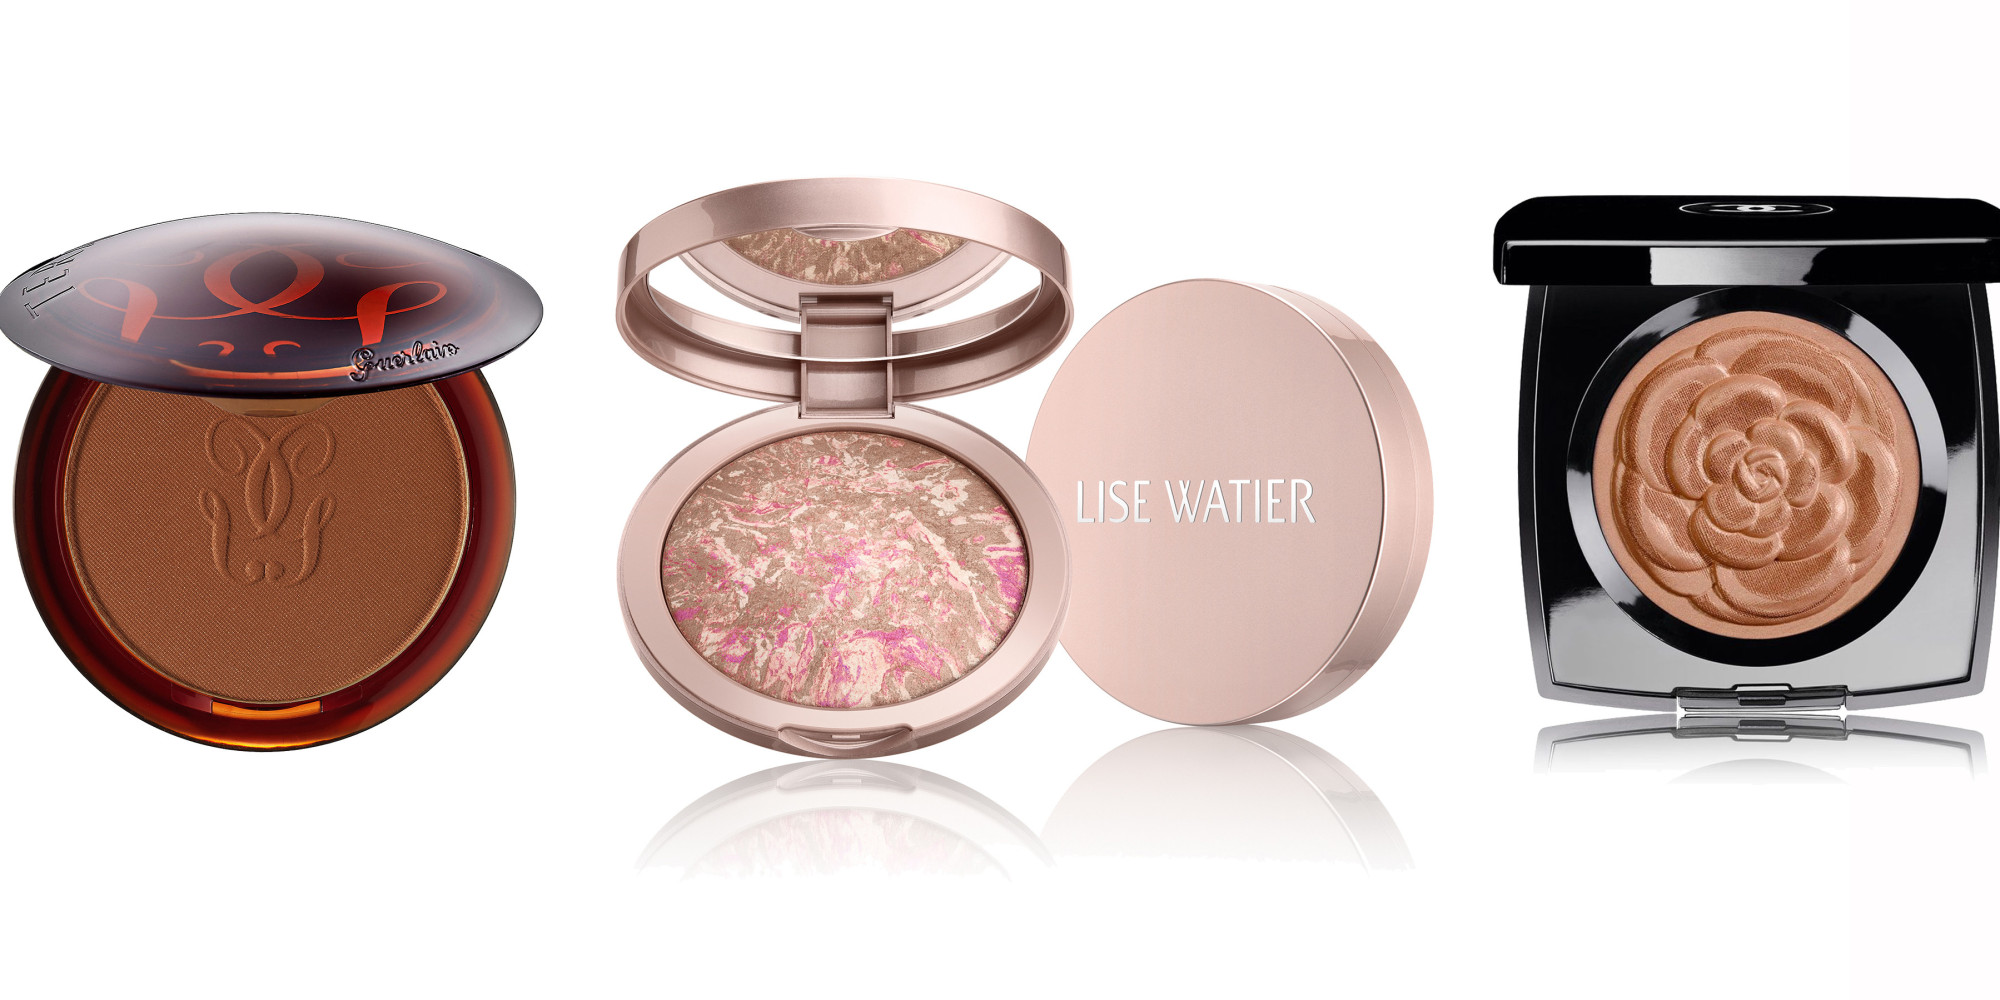
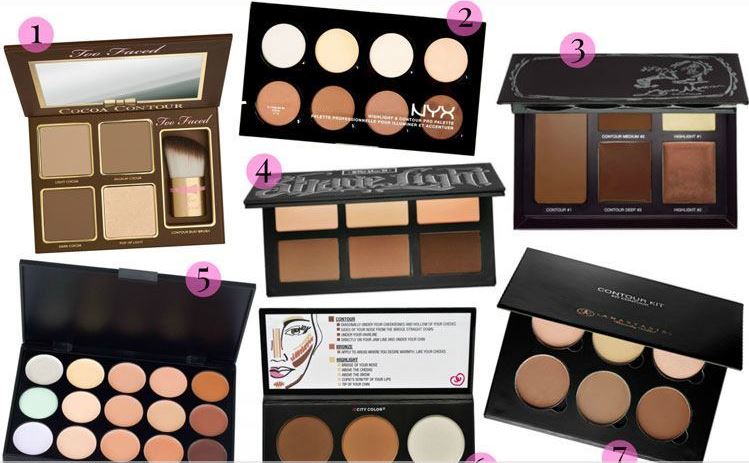
There are so many contour palettes out now that you don't have to look too hard. Some of the higher end brands are the Anastasia Beverly Hills Contour Kit, the Kat VonD Shade & Light Palette, or the Lorac Pro Contour Palette. These contour kits also include some highlighting shades.

But if you want to use something from the drugstore, I would say the best thing to use is just a face powder in a darker shade. Especially for contouring you want to use a matte powder. Physicians Formula has really great shimmery bronzers that are very affordable.
Like everything else, you have to get out there and try new things and experiment with your look and find what bests suits you.


Check out my previous posts in the Back to Basics Series here:

Primer | Makeup Part 1 | Back To Basics

Foundation | Makeup Part 2 | Back to Basics

Concealer | Makeup Part 3 | Back to Basics

All images are from google.com 

Wednesday, December 16, 2015

Face Powder | Makeup Part 4 | Back to Basics


Next up on the Back to Basics Makeup series, I want to talk to you guys about face powders. Like any other makeup product there are many kinds of face powders on the market. I will be going over the different kinds of powders and their uses.

First on the list is Pressed Powders, these are powders that are pressed into a pan and come in a compact. These pressed powders can be anything from powder foundation to pressed setting powder, to a translucent powder.

A powder foundation is just a face powder with a medium amount of tint to it.
When using a powder foundation you want to apply it to the face using a large kabuki style brush. The bristles are packed together super tightly making the application of the foundation even and flawless.
If you are using a powder foundation to set a liquid foundation, using a regular large powder brush will give you a light dusting of powder that will set the liquid foundation in place while adding an extra layer of coverage.


A pressed setting powder, is usually a little lighter in texture and not as full coverage as the powder foundation. This sort of powder can be applied all over the face even after applying a bronzer and blush. It acts as an extra layer of protection to make sure that the makeup is not going to move the rest of the day.

There is also a translucent setting powder. This kind of powder doesn't have any color to it, and it can be used to set a liquid foundation or to set the makeup when everything has been completed. This powder also works great for touch-ups during the day, because it doesn't have any color which will prevent your face from looking cakey.

Loose Powder is the other kind of powder that is available. For loose powder there are also powder foundations, setting powder and translucent powders. They do the same exact thing as the pressed powder would do, the only difference is that they are in a loose powder form.


For loose powder I think it is better to use a makeup sponge or a powder puff to apply it when you are trying to add more coverage, or if you want to prevent creasing. If you are just lightly setting a liquid foundation, using a large powder brush will do the trick.


One extra use for the loose powders is that you can use them to bake the foundation. Baking the foundation is when you apply a heavy layer of powder using a makeup sponge or powder puff to the area that you want to set, and let it sit on your face for a few minutes. Once the powder has "baked" on your face, you can use a large powder or duo fiber brush to dust away the extra powder. This technique is used to really make highlighted areas stand out, and this also prevents the foundation or concealer you use underneath from creasing.


I personally always set my liquid foundation with a powder. I have been using a foundation powder to set the foundation on my face, and under my eyes I use a brightening loose powder to set my concealer. Then once I have my bronzer/contour and blush done, I use the same brush I used with my powder to blend everything together. This gives my face a sort of airbrushed finish.


Check the previous posts for the Makeup Back to Basics series:

Primer | Makeup Part 1 | Back To Basics


All photos in this post are from Google.com