Thursday, October 29, 2015

Morning Steps & Products | Skin Care Part 2 | Back to Basics


There are many products that are available from high-end to drugstore to use to have healthy skin. In this post I'm going to be talking about the bare minimum. These are simple steps that will be great to start doing to have healthy radiant skin.
Depending on your budget and your preference some of these products might not be necessary for your skin. Remember everyone has different skin, and there isn't only one way to do things. These are just my tips for getting and maintaining nice skin.

The steps below are things that you can do in the morning to take care of your skin. The products that you use in the morning should be lightweight and easy to get into the habit of doing.

Step One: Cleansing

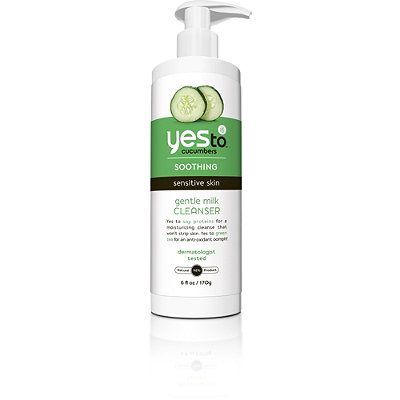
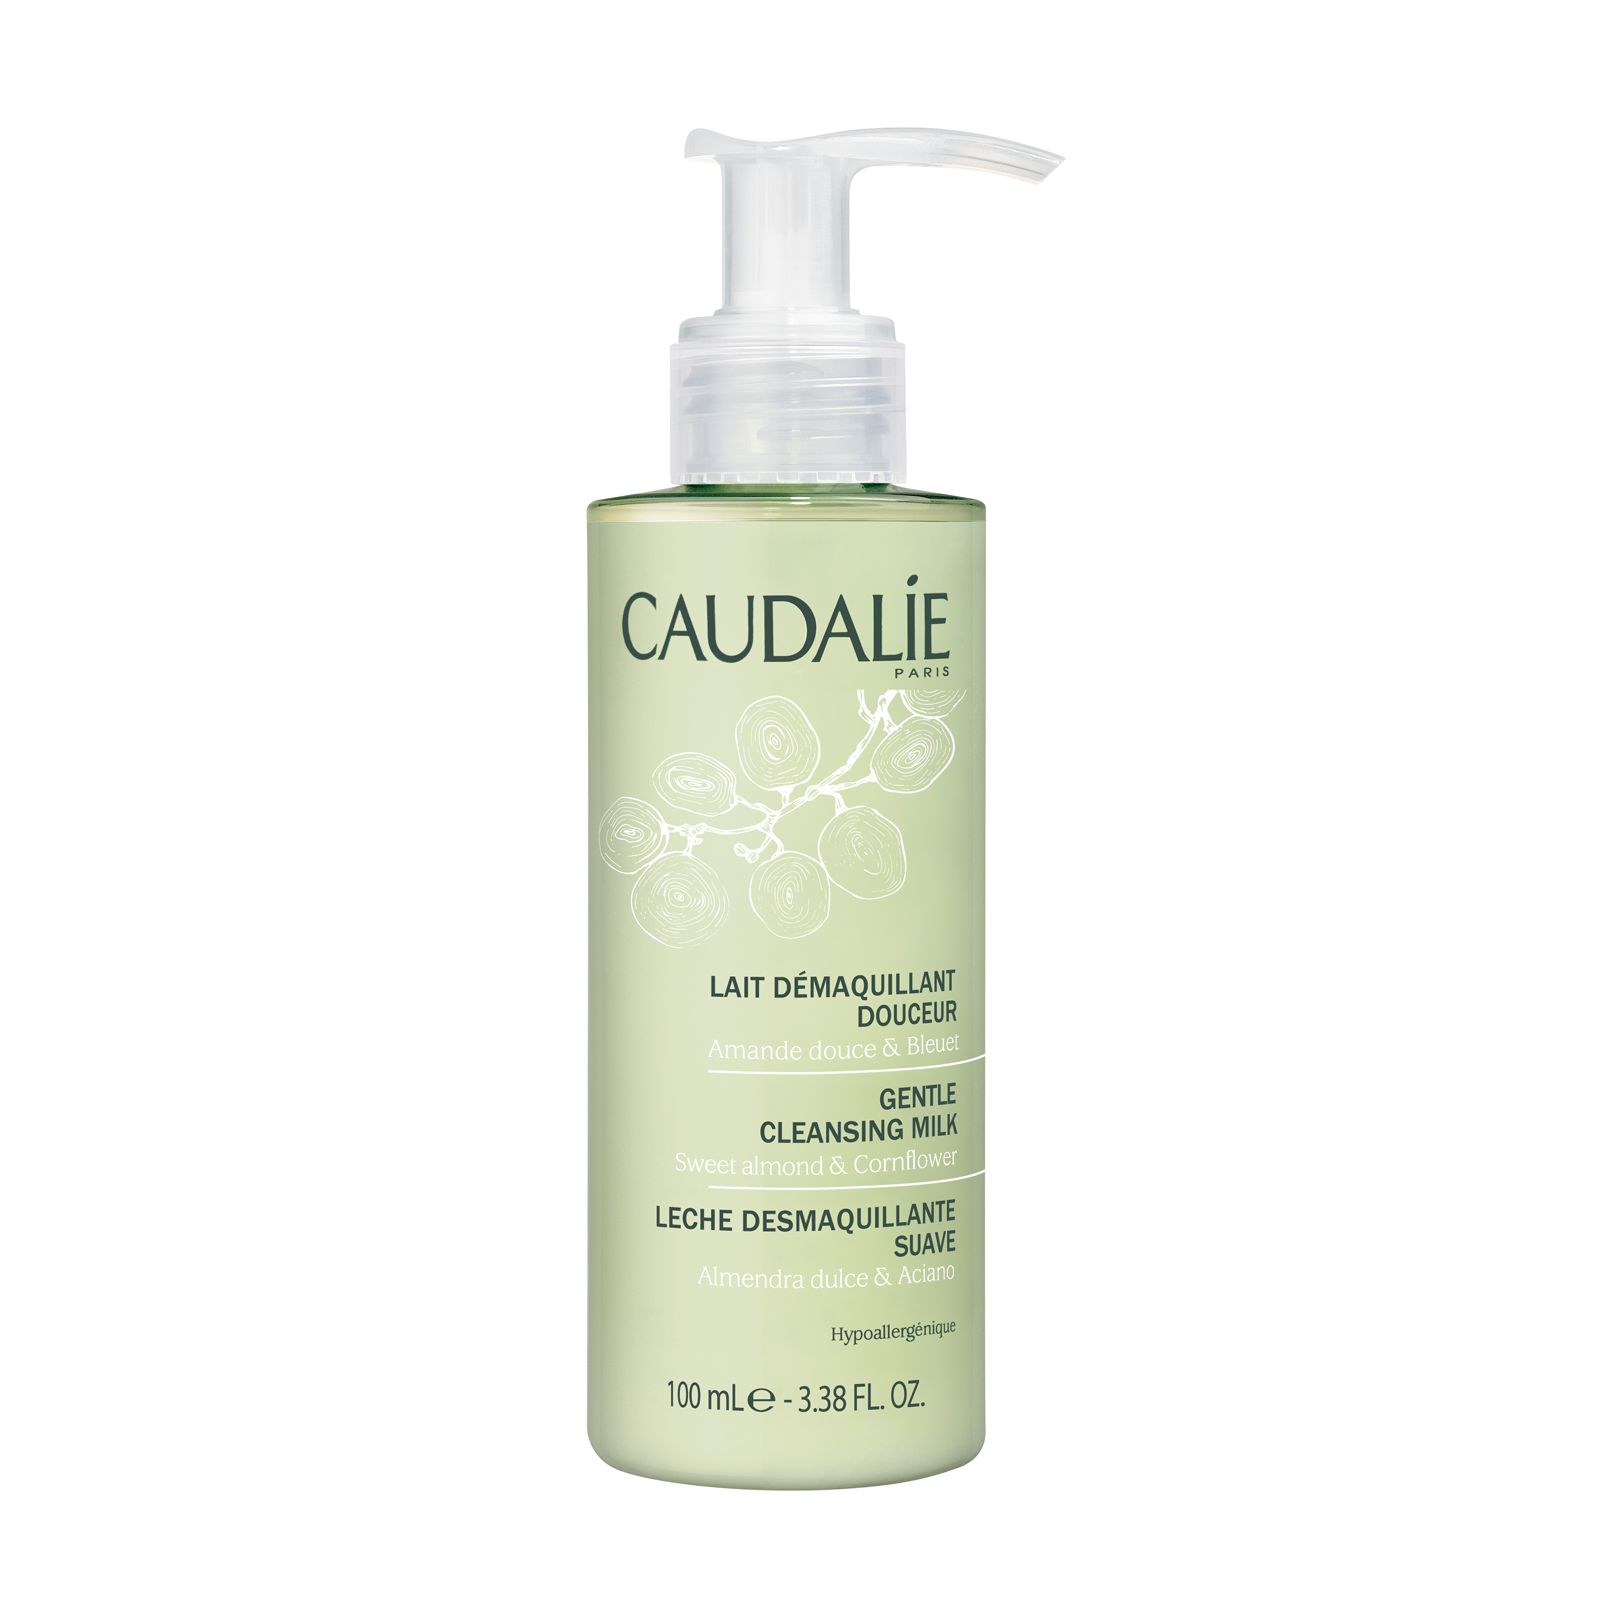
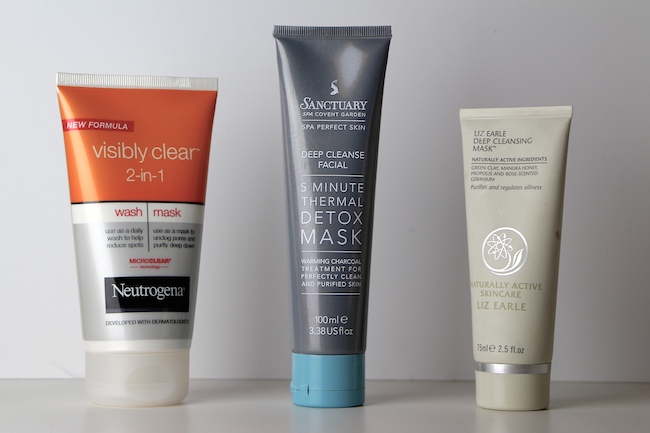
Cleansing the skin is the most important part of any skin care routine whether or not you are wearing makeup. You should always cleanse the skin at least twice a day. In the morning your face is relatively clean, so using a mild cleanser (oil or milk) would be ideal. This will prep your skin for all the skin care products you will apply afterwards.
Depending on your skin type (Skin Type blog post) you want to make sure you are choosing products that are going to help your skin and not hurt it. If you use a cleanser that is too harsh it can cause breakouts, redness, dry patches and that in turns doesn't help your end goal of nice healthy looking skin.

There are so many different cleansers out there. I really love using the Clean & Clear morning face wash. These types of cleansers are specifically made to be used in the morning and are really great. They do a good job of getting the skin clean and refreshed for the day.

Step Two: Toning

A toner is used to balance the pH level of the skin. pH (potential hydrogen) is used to show how acidic or alkaline a solution is, it ranges from 1 highly acidic to 14 highly alkaline and 7 is neutral. Skin is around 5.5 on the pH level which makes it slightly acidic, this helps ward off harmful bacteria and fungi. When you use a cleanser you might be getting rid of too much of the acidity in your skin. When your skin becomes alkaline, it has no defense against bacteria, UV rays and harsh ingredients.

What a toner does is it restores the pH balance of your skin. This is really beneficial to your skin because it will make sure that everything is running smoothly. In the long run this will help you maintain healthy skin.

During the day I like to use a toner that is more on the mild side as some toners tend to have alcohol as an ingredient and this can dry out the skin. I use a toner water from Lush. This is a very gentle toner and works great for a quick pass after cleansing in the morning.

Step Three: Moisturizing & Eye Cream

The second most important thing to do for your skin is moisturizing. After cleansing and toning your skin may be too dry and not where it needs to be. Moisturizing is so important. This will make your skin be soft and youthful. It will help with wrinkles and elasticity in the long run. The more preventative you are about your skin now, the less you have to worry about later on in life.

For the day time you want to use a moisturizer that is light. A cream that you can massage into the skin quickly is ideal, especially if you don't have a ton of time in the morning to get ready.

I have been recently been using the Ponds anti-wrinkle cream, and I have been loving it. It is really rich but very light weight. It sinks into the skin in no time and it doesn't leave my face oily or greasy feeling. Again you can go for whatever you feel your skin needs.

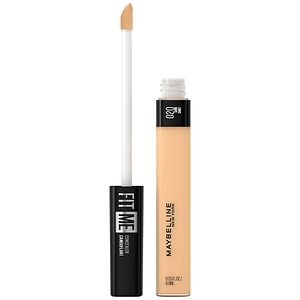
Another thing that goes into the moisturizing category is eye cream. I think everyone should be using eye cream. The skin around the eyes is very thin and soft, very similar to the lips. The eye area needs some special treatment. If you have really dark circles or larger under eye bags you can try a firming or cooling eye cream. If you have a few more wrinkles than you would like to have try using a wrinkle eye cream.

I have been using the eye cream from Benefit. This eye cream is again really light, it sinks into the skin quickly and it makes the skin around my eyes super soft. Any eye cream that you use is good eye cream.

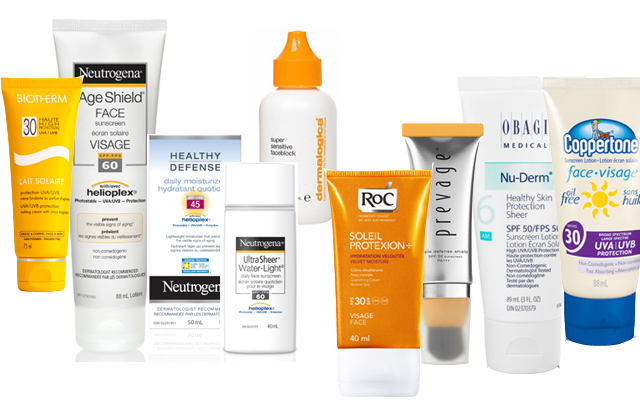
Step Four: Sunscreen

This step is probably the most important when it comes to skin care. You always want to protect your skin from the sun. Now I have to be honest, I don't usually wear sunscreen. I have not found one that I like to use on my face. I know I should but the truth is I don't. Either way I wanted to talk about it because it is a very important thing to have in your skin care routine.
As we all know, prolonged exposure to UV rays can lead to skin cancer. So taking care of the skin on your face is crucial, especially when you are not wearing makeup.
I would suggest using a lightweight sunscreen with a high SPF.

If you have any suggestions on what kinds there are out there to try, I would really appreciate the help!


Check out the other posts in this Skin Care mini series:

Previous Post: Skin Types
Night-time Steps & Products
Extra Skin Goodies


All Photos are from Google.com

Wednesday, October 21, 2015

Skin Types | Skin Care Part 1 | Back to Basics


I am going to be starting a new blog series called Back to Basics. I know a lot about makeup and skin care now, but when I was younger and first starting out, I really had no idea what I was getting into.  I didn't know anything about makeup and what to do to make applying it look good.

So I want to go way back and start at the very beginning and teach you everything you need to know to be able to do whatever makeup look you want and to take care of your skin.

I will be starting out the Back to Basics series with the Skin Care mini series. In this post I'll be going over skin types and what works for them. In the subsequent mini series, I will go into the steps for getting and maintaining good skin in the morning and in the evening. And I will also talk about extra goodies and what they do for your skin.


Now when I was younger, I didn't do much with my skin. I washed it with regular ol' bar soap and called it a day. But there are many more things that go into skin care before we can jump into makeup. You have to have a good canvas to work on. Just knowing how to take care of your skin, will be very beneficial once you start wearing makeup all the time.
You will want to know how to cleanse the skin, and prep it for any situation.

Skin care is the cleansing, massaging and moisturizing of the skin, especially the hands and face.

The first step is to figure out what kind of skin you have. This is important, so you can treat your skin with what it needs. The skin types below are the most common. If you see that you fall into more than one category, you probably have combination skin.

Dry Skin Type - Dry skin can produce almost invisible pores, a dull or rough complexion, red patches, less elasticity, more visible lines.

Normal Skin Type - Normal skin is not too dry and not too oily, it has no or few imperfections, no severe sensitivity, barely visible pores, a radiant complexion.

Combination Skin Type - Combination skin type can be dry or normal in some areas, and be oily in others. Combination skin can have overly dilated pores, blackheads, shiny skin, patches of dry skin.

Oily Skin Type - Oily skin can produce enlarged pores, shiny or thick complexion, blackheads, pimples or blemishes.

Sensitive Skin Type - Sensitive skin can be characterized by redness, itching, burning or dryness.

Once you know what skin type you have, then you can start looking at what products will work best for your skin.

If you have oily skin you want to make sure your face is moisturized, the more moisture you put on your face, the less oil your skin will produce. Don't be afraid to use beauty oils or essential oils on your skin. This will actually help you control how much oil your skin produces. Once your skin is used to outside oils and creams, then it will slow down the extra production of oil. Another thing to try is using a more lightweight cleanser. The harsher the cleanser the more dry your skin will get and the more oil your skin will produce to make up for the dryness.


For dry skin you want to moisturize a lot more than for oily skin. If you have dry skin, try drinking more water. Your skin is a reflection of how your health is on the inside. Also stay away from foaming cleansers, these usually tend to have a more drying effect on the skin. Maybe go for a milk cleanser or an oil cleanser. These type of face washes will clean your skin but wont over dry it.
 

If you have combination skin, you will want to have different products for the different parts of your face. I really love using moisturizing or deep cleaning face masks for the T-zone, where you get the most oil production. And try using a more rich and moisturizing products for the rest of the face. Multi-masking is a great way to deal with problematic skin.


If your skin is very sensitive, try using a product line that is specifically targeted for sensitive skin. A very good drugstore brand is the Simple skin care line. These products are fragrance free, and chemical free which is perfect for people with sensitive skin. Also try using products that are light on the skin. Nothing too heavy or extremely harsh. The gentler the better.


For acne prone skin, I would suggest using acne targeting products only where needed. You don't need to apply these type of products all over the face if you only have breakouts on your cheeks, for example. This could really dry you out, or worse cause more acne breakouts. Using a product that contains benzyl peroxide or salicylic acid will help get rid of acne or breakouts.


If you are one of the lucky few who have normal skin, you are probably already doing the right things. Getting into the habit of a good beauty routine will help your skin stay on track and stay clear. Cleansing, moisturizing, toning and adding masks when needed for normal skin is the way to go. Try using products the are gentle or right in the middle of harsh and sensitive.

Getting to better know and understand your skin is the first step in good skin care and ultimately good makeup application.


These other posts in this Skin Care mini series are coming soon!

Morning Steps & Products
Night-time Steps & Products
Extra Skin Goodies


Sources: WebMD
Pictures: Google.com

Friday, October 16, 2015

Favorite Fall Nail Polish Colors


My favorite time of the year is Fall. The leaves are changing, the air gets crisp, and you can start rocking dark nails and lips.

I have always really loved Essie nail polish. I think that the formula is good, and the colors they have a so beautiful. I also really like OPI and China Glaze as well.

Here are my top favorite nail polish colors for fall.

I love wearing white nail polish. I think it is so classy and elegant and it makes my hands look super pretty. I think you can totally rock white nail polish in the fall. With all the dark colors we tend to gravitate towards in the fall, I think that having white nail polish really balances any look out.

I love taupe colors for the fall as well. These sort of warm, purple-y brown shades are so pretty. I don't think you could go wrong with taupe. You could even wear these types of colors all year round.

I would have to say my all time favorite shades for the fall are the dark vampy shades of nail polish.
You can do no wrong with black nail polish. This is another one that is super classic and elegant, no matter what you wear with it.

A deep dark vampy red is the epitome of fall colors for nail polish. I really love the colors that when you look at them you see maybe red tones, or purple tones. They are real versatile and in different light look completely different.

What are your favorite fall or winter colors for nail polish?

All images are from Google.com for inspiration purposes.

Friday, October 9, 2015

Fall Makeup Tutorial | Brown Smoky Eyes & Red Lips


In this video I am doing a Fall inspired makeup tutorial. This is such an easy look to wear. I have been gravitating for darker brown eye looks for the past couple of weeks. Check out the video to see how I got this look!

Fall Makeup Tutorial


Products used in the video:

Maybelline Baby Skin Primer
L'Oreal True Match Lumi Foundation
Maybelline Fit Me Concealer
Laura Mercier Translucent Powder
Revlon Nearly Naked Pressed Powder
Kat Von D Shade & Light Contour Palette
Milani Romantic Rose Blush
Too Faced Shadow Insurance Eye Primer
Smashbox Full Exposure Palette - mini
Anastasia Brow Wiz
Maybelline Lash Stiletto Mascara
L'Oreal Voluminous Carbon Black Mascara
Becca Jaclyn Hill Champagne Pop Highlighter
Sally's Lip Liner
Revlon Matte Balm
Urban Decay De-Slick Setting Spray

Thursday, October 8, 2015

Fall Makeup Haul | Sephora, Kohl's & Walgreens


I recently went a little crazy makeup shopping. In this video I share with you all the goodies I got for the fall months.
I hope you guys enjoy this video. Fall Makeup Haul

Products mentioned in the video:
Stila Eyes are the window palette - Soul
Becca Jaclyn Hill Champagne Pop highlighter
Laura Mercier Loose Setting Powder
Smashbox Photo Finish Green Primer
Anastasia Brow Wiz - Chocolate
Urban Decay De Slick Makeup Setting Spray
Tarte Maracuja Oil
Urban Decay Prep Spray
Smashbox Full Exposure Palette - mini
Nars Satin Lip Pencils
Lorac Pro Contour Palette
L'Oreal True Match Lumi - W3 and N4
Maybelline Lash Stiletto Mascara
L'Oreal Voluminous Carbon Black Mascara
Maybelline Line Stiletto Liquid Eyeliner
L'Oreal Linear Intense Liquid Eyeliner
Revlon Matte Balms - Standout and Shameless
L'Oreal Color Riche Extraordinaire - Malto Mauve and Scarlet Concerto
Essie Nail Polish - Carry On

Wednesday, October 7, 2015

Makeup Transformation | Before & After

I love wearing makeup and playing with new looks and new products. One of my favorite things to do is give people makeovers. I wanted to share with you guys a makeover I did recently on my good friend Tess.

We were just playing around with makeup and seeing what the outcome would be. While I applied her makeup I was giving her tips and tricks for applying makeup that will make it super easy and a fun experience to do whenever she wants to.

A lot of people are sort of afraid of putting makeup on, and never really give it a chance. Makeup is supposed to enhance and beautify the features you already have, and it can also be used to hide or change features that you don't particularly like too much. The great thing about makeup is that it washed right off. I love doing all kinds of crazy makeup because I know that when I take it off, I will be able to do something completely different next time.

Don't be afraid of playing with makeup. The more you practice and use different products the better you will get. Just remember to have fun. It's not about anyone else. It's about doing what you want to do and being happy while doing it. If someone has a problem with that, then they can keep it to themselves.
Just be happy in the skin you're in, and worry about making yourself happy.

Here is the before and after shot of Tess. I loved the way it turned out. I decided to go with a flawless face. We covered up her redness and a few spots. I also did some light contouring and highlighting with creams and powders, but it doesn't look too overdone and out of this world.


For the eyes, I wanted to go a little dark and sexy. So I gave her a brown smoky eye and a wing liner, I also applied some false lashes and finished the look with pretty peach cheeks and a nude pink lip color.

I had so much fun with this makeover, I will be doing more of these soon. I will also try to film these sort of videos and post it on my channel: www.YouTube.com/thesoriameffect4

Listed below are all the products I used in the order that I used them for this transformation:
Elf Mineral Infused Face primer
Smashbox Green color correcting primer
LA Girl concealers (for concealing, cream highlighting and cream contouring)
Elf Translucent loose powder
Lorac Pro Contour palette
BH Cosmetics Blush palette
Becca Champagne Pop Highlighter
Anastasia Brow Wiz
Urban Decay Primer Potion
Urban Decay Naked Palette
Urban Decay Naked Smoky Palette
Maybelline Line Stiletto Liquid Liner
NYX Brow Wax Pencil
Ardele Lashes
Maybelline Lash Stiletto Mascara
Sephora lip liner
L'Oreal Color Riche Extraordinaire lip gloss
MakeupForever setting spray.

Monday, October 5, 2015

Nars Radiant Concealer VS Maybelline Fit Me Concealer | Review

Today I am going to be sharing my thoughts on the Nars Radiant Creamy Concealer and the Maybelline Fit Me Concealer. I will be reviewing both products and then at the end I will tell you which one I prefer.

The first concealer of these two that I used was the Nars Radiant Creamy concealer. Like most of the products I talk about, I was sucked in to the YouTube vortex of product doom when basically everyone on YT was talking about the Nars concealer. So I went to my neighborhood Sephora and picked up the concealer in the shade vanilla.
First thing I didn't like was the price. This concealer costs $28, and that is for .22 oz of product. How much product is that you ask? A LITTLE BIT, that's how much!

So clearly this product is a high end product, and you're basically paying for the name and pretty packaging. I was expecting this concealer to be amazingggg! I was not disappointed. I really loved this concealer. It was the perfect consistency for covering dark circles and even using it as a cream highlight. It blends out really well, with a sponge or a brush or just your fingers. Truly, it is a very nice concealer.

I had also heard a lot about the Maybelline Fit Me concealer, and that this was a great dupe for the Nars concealer.
In one of my last visits to the drugstore, I decided to give the Maybelline concealer a chance. I really wanted to see for myself if it was really comparable to the Nars concealer.
Since these are only $7.29 (for .23 oz) I got the 3 lightest shades that were available ( 10, 15 and 20.)
So even buying 3 of these concealers I didn't reach the $28 price for only one of the Nars concealers.

These concealers, I must say, were a surprise. As they are drugstore products I honestly was not expecting a lot from them. But I ended up really loving these concealers. I most often use the number 20, that is about 2-3 shades lighter than my natural skin tone. I love the opacity of these concealers. It does a great job of covering my dark circles, highlighting and I even use it to conceal spots. It blends out so nice, it doesn't disappear after blending it. It really brightens up the under eye area and makes the overall base look amazing. I recently talked about this concealer in my September Favorites video that is up on my YouTube.

The Maybelline Fit Me concealer is definitely an amazing dupe for the Nars Radiant Creamy concealer. But It's also just a great concealer in general. Both of these are super comparable. I would say that the Maybelline concealer is the winner because of how affordable it is. You can buy about 4 of these concealers for the price of one of the Nars concealers.
So why spend all that money on a product if there is one that is just as good for a quarter of the price!

Let me know what concealer is your favorite!
Thanks for taking the time to check out my blog!