Tuesday, December 29, 2015

Urban Decay X Gwen Stefani Palette Makeup Tutorial


This is a quick and easy makeup tutorial using the new Urban Decay Palette in collaboration with Gwen Stefani. Check out the video below. Also below is the full list of all the products I used in the video!

Subscribe & Share!


Spanish Tutorial:


Products used in the video:
Elf Poreless Face Primer
MAC ProLong Wear concealer
L'Oreal True Match foundation
Maybelline Fit Me concealer
Laura Mercier Translucent Setting Powder
Revlon Nearly Naked Pressed Powder
Lorac Pro Contour Palette
Milani Luminoso Baked blush
Too Faced Shadow Insurance
Urban Decay X Gwen Stefani Palette
L'Oreal Linear Intense Liquid Liner
Becca Champagne Pop highlighter
Maybelline Lash Stiletto Mascara
Mark Brown Lipstick
Urban Decay De-Slick Setting Spray


|| Other YT Channels ||

Spanish Beauty Channel: https://www.youtube.com/channel/UCVp5erjTu3sPPV7pGKjOP8w
Vlog Channel: http://YouTube.com/SoriamTV


|| FOLLOW ME ON SOCIAL MEDIA ||

Instagram: https://instagram.com/the_soriam_effect/
Facebook: http://facebook.com/thesoriameffect
Twitter: https://twitter.com/SorrriamArrrce
Pinterest: http://www.pinterest.com/soriamarce/
Tumblr: http://sosoriam.tumblr.com

Monday, December 28, 2015

Bronzer & Contouring | Makeup Part 5 | Back to Basics


Bronzer is up next in this Back to Basics series. I absolutely love bronzer. This step is when you are going to start adding color back into the face. What we do with concealer and foundation is create a blank canvas, so adding bronzer is going to give your face dimension and the shape that you want.

Bronzer can come in a cream form or a powder form. Since I went over cream contour in the Concealer Back to Basics, I won't be getting into it in this post. I will be talking about powder bronzer products and how to use them.

Bronzer Finish
Powder bronzer is a face powder that comes in a darker shade. When using this product to bronze up the skin, you want to use a shimmery shade (not glittery) and you're going to apply this color with a large powder brush on the places where the sun would naturally hit the skin. Apply the bronzer to the tip of the nose, to the top of the cheeks, and to the center of the forehead. This will give you the sun-kissed bronze goddess look that is great in the summer time.
Another way to use a shimmery bronzer is to bronze the skin like you would if you were contouring. Using a large powder brush apply the bronzer under the cheekbones, around the hairline on the forehead and on the sides of the nose. This technique is still giving you the bronze goddess feel, but since it is on the perimeter of the face it won't be too intense and bronze goddessy.
When using a bronzer to contour your face you want to choose a matte bronzing powder. When contouring you want to think about what color you are choosing, try to stay between 2-3 shades darker than your natural skin tone (or foundation tone you are using.)

Bronzing Colors for Contouring
There are some bronzers that have a warm tone, this is a red or orange undertone to the brown. If you have a lighter skin tone you want to stay away from these colors as they tend to look muddy and might make your face look dirty.
A warm bronzer would look amazing on a darker skin tone. I would say medium to dark skin tones would benefit from a warm bronzer since the underlying pigment in darker skin is usually red/orange. This will complement you best and make the contour look very natural.

Bronzers that are cool toned are great for people with lighter skin. These bronzers can have more of a gray cast to them. This tone will complement light skin because it will make the contour look like it's an actual shadow on the skin. Be careful not to choose a color that is too dark for your skin, because this can make you look ashy or give you that slight "I'm a member of the undead" look.

Then there is the neutral tone, this is the perfect mix between warm and cool. This kind of bronzing powder can be used by people with any skin tone and it will look great. This tone works great just to bronze up the face as well as for contouring.

We also have to talk about the intensity of the pigment. The colors can range from very light to very dark. Keeping in mind your skin tone, going 2-3 shades darker that your natural skin tone is the best bet, unless you want a super dramatic drag-like contour. Then by all  means go for the darker tones.

One of the most important things to remember when it comes to bronzing or contouring is to blend blend blend. This will insure that your face looks natural. Blending out the colors that you put on your face will make the makeup as a whole look airbrushed and amazing.

Where to Contour
Just like in the Concealer post, when using a powder bronzer to contour you want to keep in mind your face shape. Ideally you want to create the illusion of an oval face shape, so if you have a face shape that is not oval, that is your goal when contouring.

If you have a round face, you want to add darkness to the sides of your face. You are going to apply the bronzer to your checks in sort of a half moon shape from the temples to the jaw line. Doing this will create the illusion that the face is slim.

If you have a square face, you want to put the bronzer on the hairline right above the eyebrows, and also on the jawline right by the ears. This will taper off the corners of the face, which will help in creating the illusion of an oval face.


If you have a heart shaped face, you are going to apply the bronzer to the sides of the forehead and to the top sides of the cheeks. You want to make the top of the face as proportionate as possible to the bottom half of the face.

Here are the rest of the face shapes in a quick little chart for reference. The chart also has where to highlight which is shown with the circles. The highlights you can add with a highlighting powder which gives a glowy finish or just a lighter toned face powder for a more matte finish.


Bronzing/contouring is definitely something that you have to practice to perfect. The application for this will be different for every face shape. When applying bronzer always remember to blend everything out. I usually apply the contour shade with a large powder brush and once I have the intensity that I want I will go in with a clean duo-fiber brush and go over the entire thing until it is blended.
Bronzing Products
There are so many contour palettes out now that you don't have to look too hard. Some of the higher end brands are the Anastasia Beverly Hills Contour Kit, the Kat VonD Shade & Light Palette, or the Lorac Pro Contour Palette. These contour kits also include some highlighting shades.

But if you want to use something from the drugstore, I would say the best thing to use is just a face powder in a darker shade. Especially for contouring you want to use a matte powder. Physicians Formula has really great shimmery bronzers that are very affordable.
Like everything else, you have to get out there and try new things and experiment with your look and find what bests suits you.


Check out my previous posts in the Back to Basics Series here:

Primer | Makeup Part 1 | Back To Basics

Foundation | Makeup Part 2 | Back to Basics

Concealer | Makeup Part 3 | Back to Basics

All images are from google.com 

Vlogmas 2015


I have been wanting to be more active on my vlog channel recently, so I decided I was going to give vlogmas a go this year. I've never been really into vlogging at all, but I really wanted to do it. I think it'll be something nice to look back on and see how my life was going right at this time.

I'm doing vlogmas a little differently than I see other people doing. Since I know I won't be editing and uploading every single day, I am just going to vlog everyday and then put the clips of the week into one or two videos. I figured that way it's not going to be so much work everyday to get the videos edited and uploaded.

If you don't already know I have a second channel on YouTube where I will be posting more vlogs in the new year as well as for vlogmas.

https://www.youtube.com/user/SoriamTV

Here are the Vlogmas videos! I will continue to post them here as I get them up on YouTube!
I hope you guys enjoy these day in the life sort of videos!

Vlogmas Week 1

Vlogmas Days 5-7

Vlogmas Days 8-9

Vlogmas Days 10-12

Vlogmas Days 13-14
Vlogmas Days 15-16
Vlogmas Day 17
Vlogmas Day 18
Vlogmas Day 19


Thanks for checking out my channel! If you like it don't forget to Subscribe!


**Follow Me**

Beauty Channel: http://Youtube.com/TheSoriamEffect4
Spanish Channel: https://www.youtube.com/channel/UCVp5erjTu3sPPV7pGKjOP8w

Facebook: http://facebook.com/TheSoriamEffect
Instagram: http://instagram.com/The_Soriam_Effect
Twitter: https://twitter.com/SorrriamArrrce
Pinterest: http://www.pinterest.com/soriamarce/
Tumblr: http://sosoriam.tumblr.com

Wednesday, December 16, 2015

Face Powder | Makeup Part 4 | Back to Basics


Next up on the Back to Basics Makeup series, I want to talk to you guys about face powders. Like any other makeup product there are many kinds of face powders on the market. I will be going over the different kinds of powders and their uses.

First on the list is Pressed Powders, these are powders that are pressed into a pan and come in a compact. These pressed powders can be anything from powder foundation to pressed setting powder, to a translucent powder.

A powder foundation is just a face powder with a medium amount of tint to it.
When using a powder foundation you want to apply it to the face using a large kabuki style brush. The bristles are packed together super tightly making the application of the foundation even and flawless.
If you are using a powder foundation to set a liquid foundation, using a regular large powder brush will give you a light dusting of powder that will set the liquid foundation in place while adding an extra layer of coverage.


A pressed setting powder, is usually a little lighter in texture and not as full coverage as the powder foundation. This sort of powder can be applied all over the face even after applying a bronzer and blush. It acts as an extra layer of protection to make sure that the makeup is not going to move the rest of the day.

There is also a translucent setting powder. This kind of powder doesn't have any color to it, and it can be used to set a liquid foundation or to set the makeup when everything has been completed. This powder also works great for touch-ups during the day, because it doesn't have any color which will prevent your face from looking cakey.

Loose Powder is the other kind of powder that is available. For loose powder there are also powder foundations, setting powder and translucent powders. They do the same exact thing as the pressed powder would do, the only difference is that they are in a loose powder form.


For loose powder I think it is better to use a makeup sponge or a powder puff to apply it when you are trying to add more coverage, or if you want to prevent creasing. If you are just lightly setting a liquid foundation, using a large powder brush will do the trick.


One extra use for the loose powders is that you can use them to bake the foundation. Baking the foundation is when you apply a heavy layer of powder using a makeup sponge or powder puff to the area that you want to set, and let it sit on your face for a few minutes. Once the powder has "baked" on your face, you can use a large powder or duo fiber brush to dust away the extra powder. This technique is used to really make highlighted areas stand out, and this also prevents the foundation or concealer you use underneath from creasing.


I personally always set my liquid foundation with a powder. I have been using a foundation powder to set the foundation on my face, and under my eyes I use a brightening loose powder to set my concealer. Then once I have my bronzer/contour and blush done, I use the same brush I used with my powder to blend everything together. This gives my face a sort of airbrushed finish.


Check the previous posts for the Makeup Back to Basics series:

Primer | Makeup Part 1 | Back To Basics


All photos in this post are from Google.com

Monday, December 14, 2015

Concealer | Makeup Part 3 | Back to Basics


Concealer is probably my favorite product when it comes to makeup. You can really use this product for many things. Concealer is one of the products that every girl should have.

I'll be going into detail about different concealer types, and all the different ways it can be used when applying makeup.

Uses for Concealer
To start we are going to be talking about what concealer was intended to do, which is to conceal. When you are using concealer to conceal or hide spots or blemishes (or hyperpigmentation) you want to go for a shade that matches your skin tone or the foundation that you are currently using. This will help hide the imperfections.

Concealer is also mainly used to cover up dark circles under the eyes. For this I also suggest using a color that is similar to the (skin tone or) foundation that you are using. This like the blemishes will help even the skin tone out.

Another thing that concealer is great for is to highlight and contour. When using a concealer to highlight, you are going to want to go for a concealer that is 2-3 shades lighter than your skin tone. Brightening the skin under the eyes and down the center of the face will make them stand out, and give your face the shape that you want.

To contour with a concealer, you want to choose one that is 2-3 shades darker than your skin tone to use to create shadows on your face. This dark shade you are going to place under your cheek bones, along the jaw line, and around the hairline on the forehead. This will slim your face and also give your face some color and dimension.


Kinds of Concealers
There are a few different kinds of concealers on the market. There are the ones that are extremely full coverage, these concealers are usually thicker and the color is much stronger.

There are ones that are a medium coverage and these can be used lightly or you can even layer this a few times to get a fuller coverage. These are about the same consistency as liquid foundation, but the pigment is stronger than in foundation.

Then there is also a light or sheer coverage concealer. These are great to use when you don't have any other face makeup.


Just like with the foundation, concealers can be found anywhere from drugstore to Sephora and Ulta. The trick is really to just try different ones out until you get one that works for you.

In my personal opinion, I love drugstore concealers. My favorite of the moment is the Maybelline Fit Me Concealer. I even made a blog post comparing that one with the Nars Radiant Creamy Concealer.


Another one from the drugstore that is really good is the Maybelline Age Rewind Concealers.
If you want to use concealers for cream contouring I highly recommend trying out the LA Girl Pro Concealers. They have so many different colors, much more than anything I've seen at any drugstore or Sephora.

Concealer is definitely one of the best makeup products out there!


Check out my two previous posts in the Makeup Back To Basics Series:

Primer | Makeup Part 1 | Back To Basics


Photos used in this post are from Google.com

Thursday, December 10, 2015

Lanterns for Winter | Home Decor


I recently made a trip out to my closest Ikea. I went to browse around and check out what's new. I ended up picking up the cutest little lanterns and I wanted to share with you how I used them in my home.

I love the soft candlelight glow that these have when all the lights are turned off. It makes everything feel so warm and cozy, especially as the temperature outside keeps getting lower and lower.


Candles - Ikea
Lanterns - Ikea
Fake Flowers - AC Moore
Pine Cones - AC Moore
Square Vases - AC Moore
Place mats - Ikea

Thanks for checking out my blog!

Friday, December 4, 2015

Foundation | Makeup Part 2 | Back to Basics


Next up on the Makeup Back to Basics series is foundation. Foundation is a used to give you a "blank" canvas to work on.

When I was younger all I liked to do was fun makeup looks on the eyes, but now that I have experience with makeup, I really enjoy the skin part of makeup a little more. Being able to enhance the appearance of my skin with makeup is what it is all about. Playing with makeup should be fun. Don't take it too seriously, it washes right off.

I will be talking about how to apply foundation and what kind of foundations are out there to use.

There are a few different products for foundation. They all are meant to do the same thing, evening out the skint tone. These are the foundations that are out there for us, the customer, to use and enjoy. Choosing one of these formulas is going to depend on your skin type, your preference, and the amount of time you are willing to put into the process.
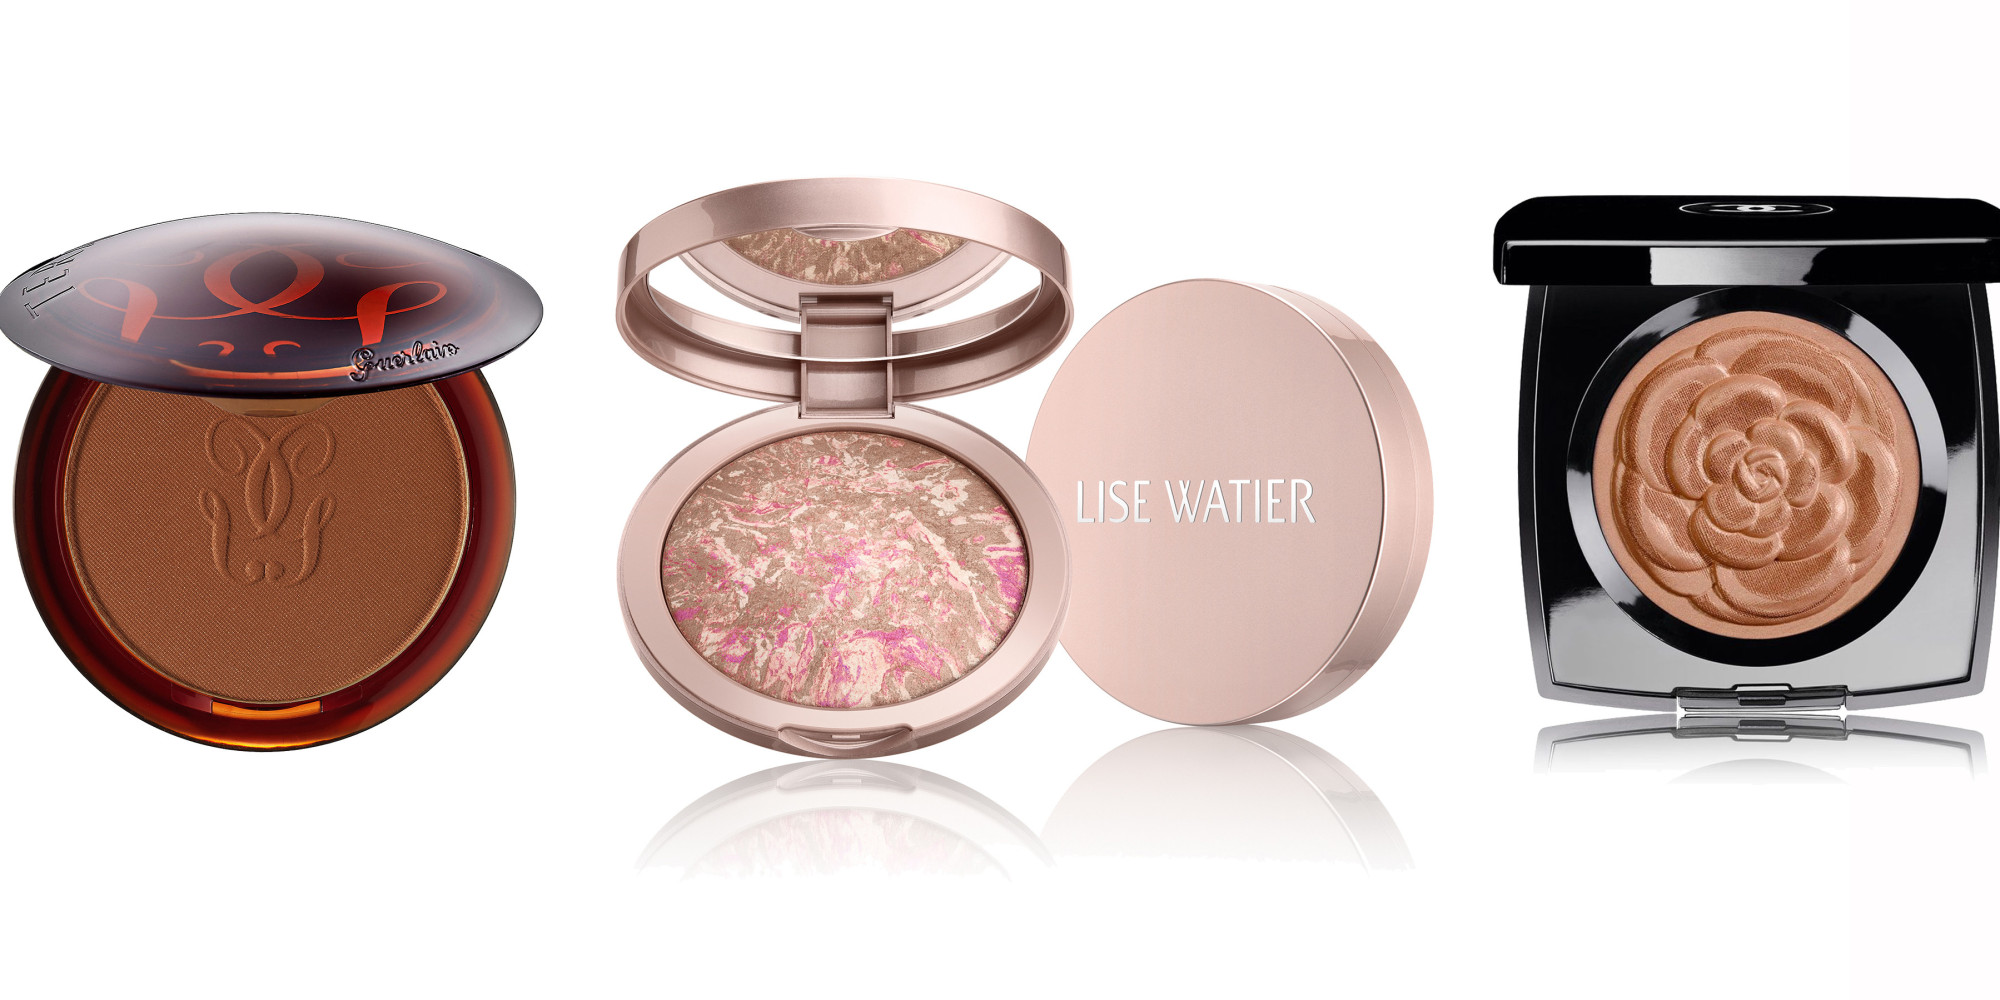
Liquid Foundation
Liquid foundation is the most common foundation product that is used. It is in liquid form and you can use a brush, a sponge, or your fingers to apply this makeup. The great thing about liquid foundation is the ability to mix two or more of them together to get the perfect shade.
This makeup you can get at the drugstore for less than $15 or you can get a high end foundation that could cost you over $100 sometimes. The key to this is trying out different brands and finishes until you find one that fits you the best.


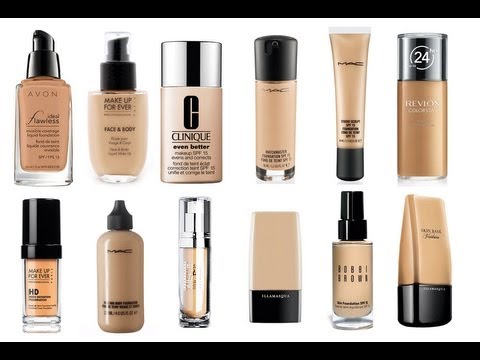
Speaking of finishes, liquid foundation comes in a range of finishes that you also need to be aware of. There is the matte finish, this is great for people with oily skin because it wont give you any more shine. A matte finish foundation would also be good for people that have larger pores because light won't reflect off the large pores making them more visible.

Another finish is dewy or luminous. This finish is perfect for people with dry skin. This will make your skin look dewy and healthy.

You might also find the foundations that are long-wearing. This means that they are designed to stay on the skin far longer that a regular foundation. These are usually matte, and they set up on the skin quickly after applying it. These foundations are great to use for special events.
Depending on your skin type and your preference that is going to determine what foundation you need to pick. For example I have combination skin, (this means I get oily in my T-zone, but the rest of my face stays normal) but I still like to use a foundation that has a luminous finish because I always set my foundation with a face powder-I switch between a loose setting powder and a light powder foundation. So even though I have an oily T-zone, since I powder my face I can get away with using a foundation with a dewy finish.
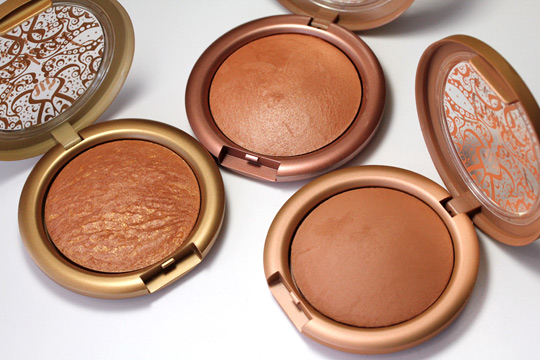
Powder Foundation
Powder foundation comes in the form of a powder, it can come in a compact as a pressed powder or it can also coma as a loose powder in a pot. This type of foundation doesn't really have different finishes on the skin because they are powders, it's just going to look matte.
This foundation is great to use when you want to apply the foundation and be done quickly. You don't have to be too careful when applying a powder foundation.

Powder foundation usually gives a medium to full coverage, because you can also apply more layers for additional coverage.
You can apply a powder foundation with a powder puff, a large brush or a makeup sponge.
The only thing that is different with a powder foundation, if this is the only base product you will apply (meaning you're not using it to set a liquid foundation) then you have to go in with primer and concealer before you apply the powder foundation. One of the biggest rules in makeup is that you don't put cream products on top of powder products. What would happen is that the cream product will basically remove the powder product and then you will have a patch of skin with no makeup on it. So try to avoid mixing powders and cream products.
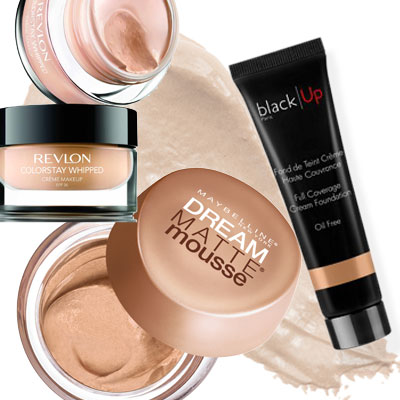
Cream Foundation
Cream foundations are basically a mix between a liquid and a powder. It's much thicker than a liquid foundation, but it is still wet and creamy. This is another great option for people that want a slightly heavier coverage. This foundation can be applied using a brush, your fingers, or even a makeup sponge.
There are also cream foundations that have a cream to powder finish formula. With a product like that you don't have to set the base because it sets itself.


Foundation Coverage
There are some foundations that are made to go on the skin very sheer, and only give a light wash of color. Foundations like this will say things like lightweight or sheer. This can also include BB creams and CC creams. This is perfect for people that don't need a lot of coverage, but still want to use a foundation. This foundation works amazingly in the summer months when you don't want heavy makeup on the skin.

There are also foundations that are medium coverage. These foundations will give you a bit more coverage than a sheer formula, but it wont be extreme. Most of the time you could even apply more layers of a medium coverage foundation to achieve more coverage or even full coverage. These layers will still feel light on the skin because the foundation isn't thick to begin with. I love wearing medium coverage foundation on a day to day basis to go to work or to be out and about.

The last type of coverage is full coverage. These sort of foundations tend to be really thick and very pigmented. Usually with one layer of a full coverage foundation you should get an almost perfect skin finish. This can sometimes be used to heavily and make the skin look cakey. Full coverage is great for special events, or photo-shoots, or if you will be in front of the camera.

Thanks for checking out this post!

Check out my previous post here:

Primer | Makeup Part 1 | Back To Basics


All photos are from Google.com